How to configure Virtual spooler print on macOS
This section describes how to add a printer on a macOS workstation which sends the documents to the OptimiDoc Cloud OptimiCapture and OptimiPrint Virtual Spooler.
To configure the printer:
- Open System preferences from the Dock.
![]()
- Choose Printers & Scanners
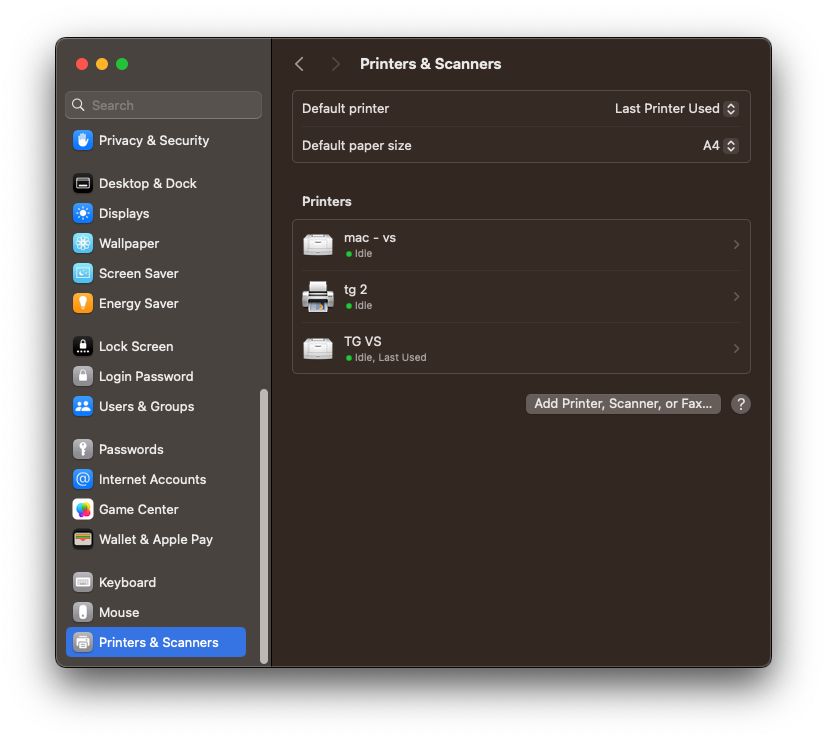
- Click on the + button in the list of Printers
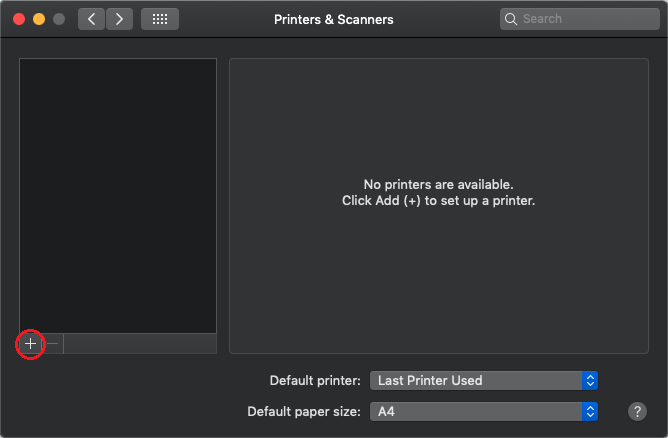
- If the Advanced button on the top bar isn't enabled, right-click on the top bar and choose Customize Toolbar option.
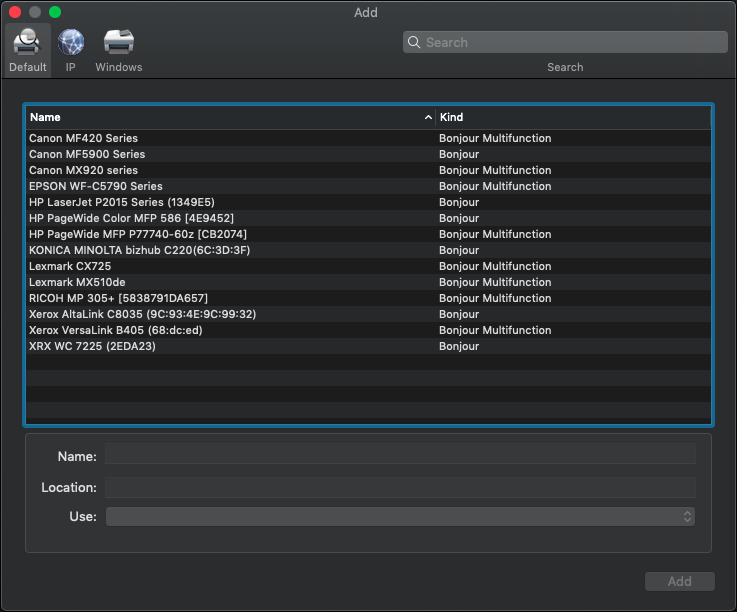
Drag and drop Advanced icon into the bar in the Add window
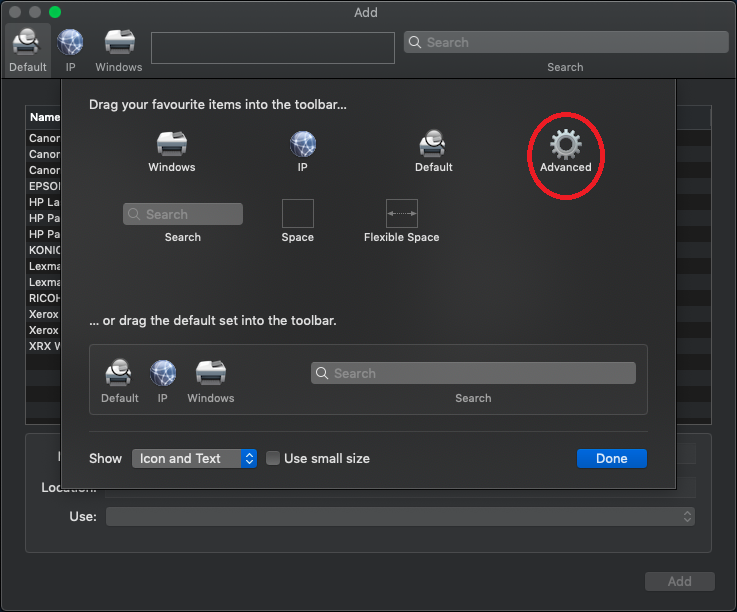
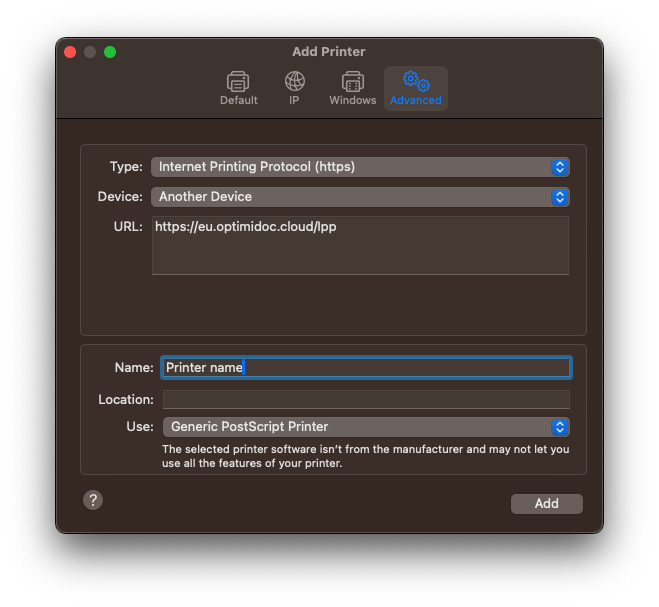
- Click on the Advanced icon on the top bar and fill the form by following instructions:
- Type: Internet Printing Protocol (https)
- Device: Another Device
- URL: https://eu.optimidoc.cloud/Ipp
- For using a specific spooler, follow instructions from chapter How to find URL to specific Virtual spooler
- Name: choose the name of the printer
- Location: choose the location
- Use: chose the driver
And click on the button Add.
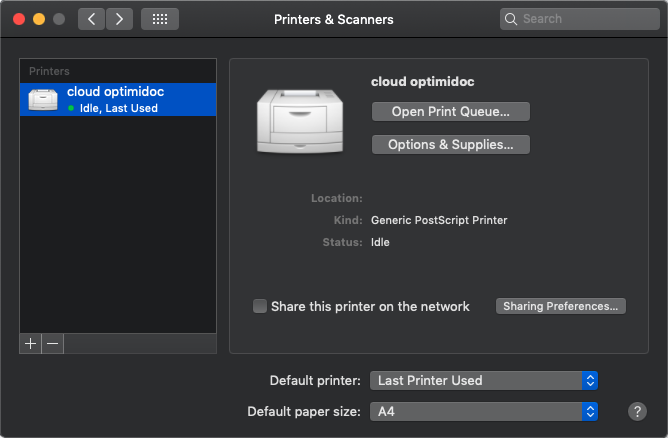
- Check if a new printer showed up in your list of Printers
To print document:
- With a document open on your Mac, choose File > Print, or press Command-P
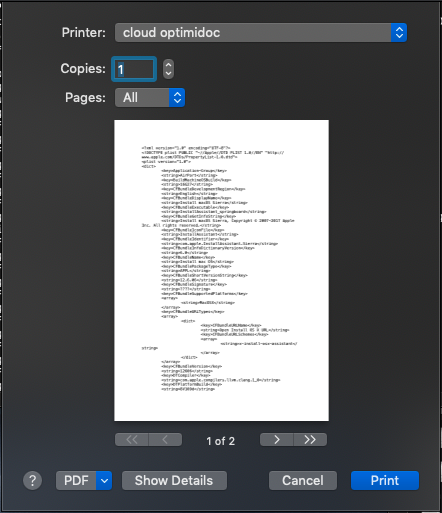
Review your print and click on the Print button
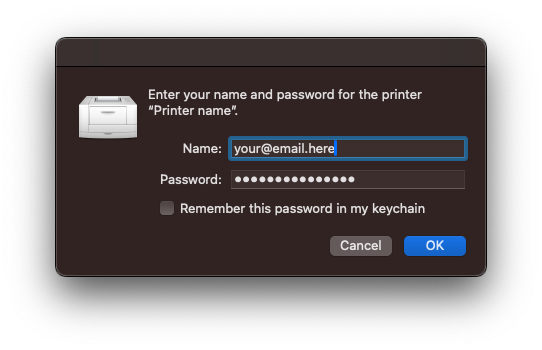
- Check your print queue where should be a new print job on Hold due to Authentication requirements. Click on the refresh button to perform the authentication.
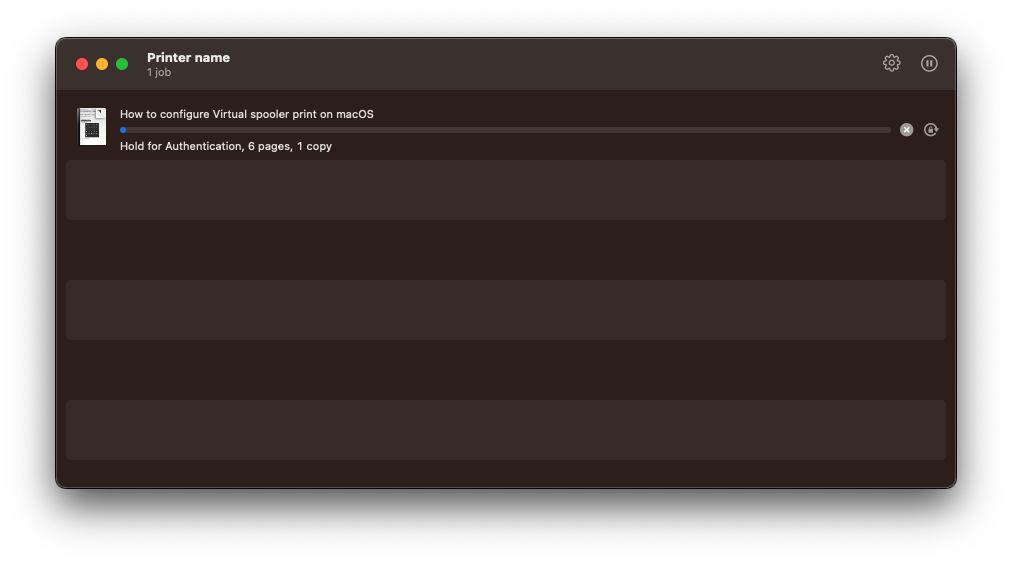
- Fill out your OptimiDoc Cloud OptimiCapture and OptimiPrint credentials.
- Name: Email
- Password: OptimiDoc Cloud OptimiCapture and OptimiPrint password or Microsoft password in case your account has been imported from Azure AD
- On the OptimiDoc Cloud OptimiCapture and OptimiPrint will be delivered a new print job. Check Print Jobs in My Jobs tab or on the dashboard.
