Print connectors
The OptimiDoc Cloud OptimiCapture and OptimiPrint provides a print connectors feature. Users can access their storage's directly on the device panel and request a print of available documents through it.
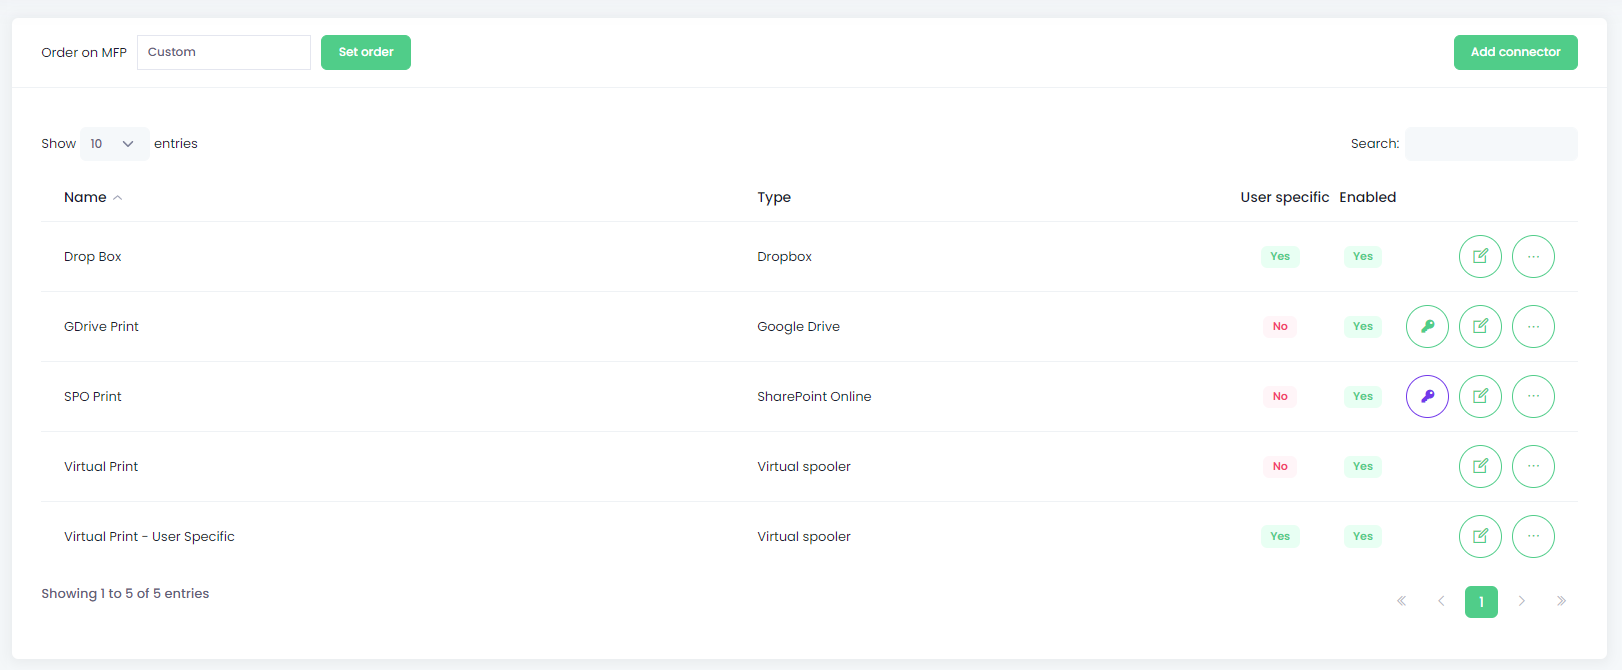
The OptimiDoc Cloud OptimiCapture and OptimiPrint has these two primary print connectors: user-specific and non-user specific. User-specific print connectors mean that every user will access their personal cloud storage using the same print connector. Non-user specific print connector opens the same storage for all users.

Operation above Print connectors:
- Order on MFP - to define the order of print connectors displaying on MFP. Choose between these options: Alphabetical, Alphabetical descending and custom.
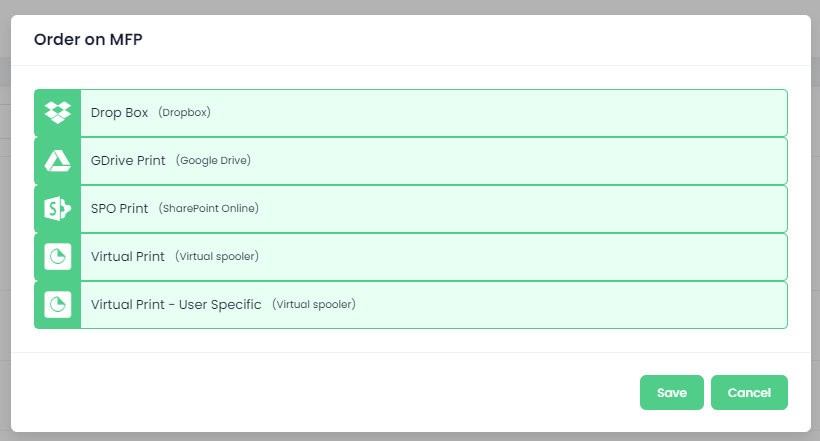
- To set up a custom order, click on the "Set order" button after choosing Custom option. The picture below displays dialogue for setting the order.

- Add connector - add a new print connector by clicking on the Add connector button.
- Edit - to edit the connector, click on the edit button.
- Delete - to delete the connector, click on the trash button.
- Authorize print connector with Cloud storage - click on the key button to authorize any print connector against cloud storage. After, you will be redirected to a specific authorization page. When authorized green key icon will show up instead.
- Authorization is identical to scan workflows.