Scan workflows
The OptimiCapture portal allows administrators to create a scanning workflow to simplify everyday work of employees with paper document digitalization.
Thanks to the direct connection with all connected devices, all changes appear immediately on all devices.
The OptimiCapture has two primary scanning workflows: user-specific and non-user specific. User-specific workflow means that all users will scan with the same workflow to their personal cloud storage. Non-user specific workflow always delivers documents to the same location for all users.
Configuration of scanning workflows is done in the Scan workflows tab.

Operation above Scan workflows:
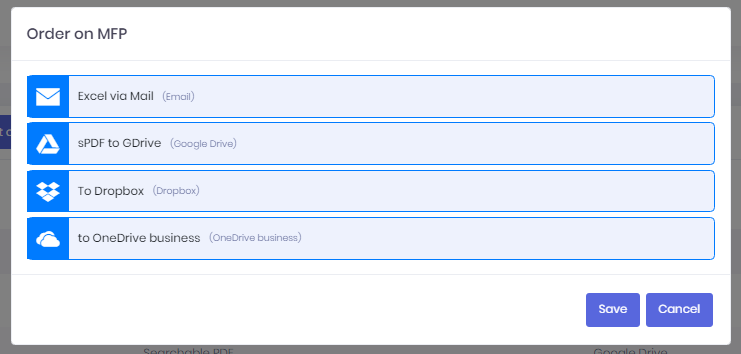
- Order on MFP - to define order of Scan workflow displaying on MFP. Choose between these options: Alphabetical, Alphabetical descending and custom.
- To set up custom order click on the button "Set order" after choosing Custom option. Picture below displays dialog for setting the order.

- Add new workflow - to add new scanning workflow click on the Add workflow button.
- Edit - to edit workflow click on the
 button.
 - Delete - to delete workflow click on the
 button.
 - Authorize scanning workflow with Cloud storage - to authorize the workflow against cloud storage click on the
 button. You will be redirected to specific authorization page afterwards. When authorized
  icon will show up instead.
 - For authorization of User specific Scan workflows go to Dashboard.