OptimiDoc Cloud Print&Scan configuration
OptimiDoc Cloud OptimiCapture and OptimiPrint Print&Scan configuration steps:
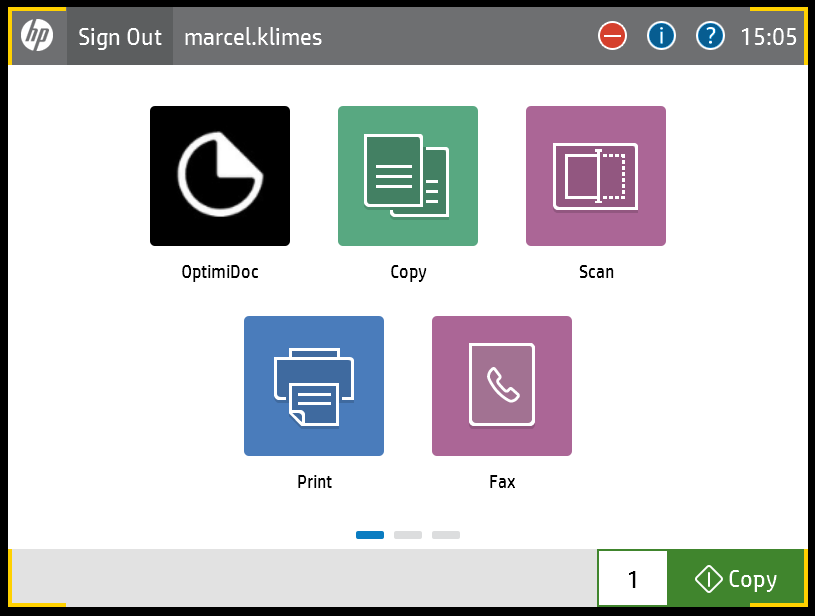
- Open the OptimiDoc Cloud OptimiCapture and OptimiPrint application on the device panel.

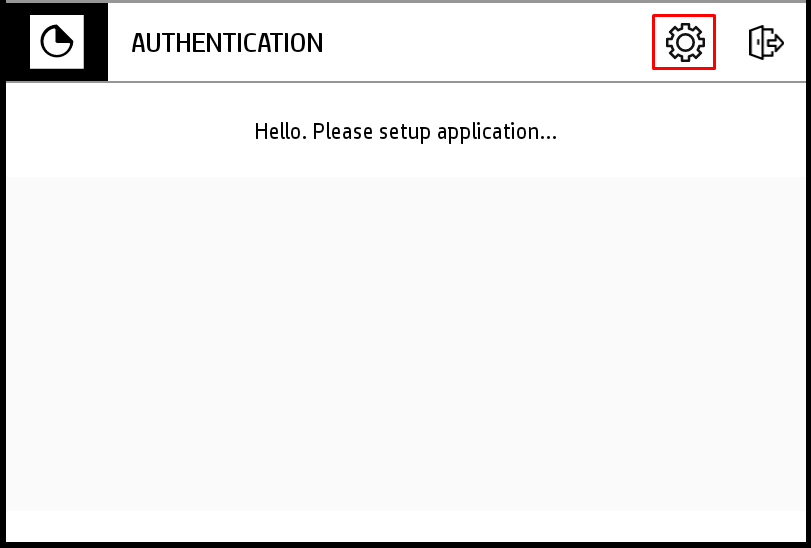
- Click on the Settings button.

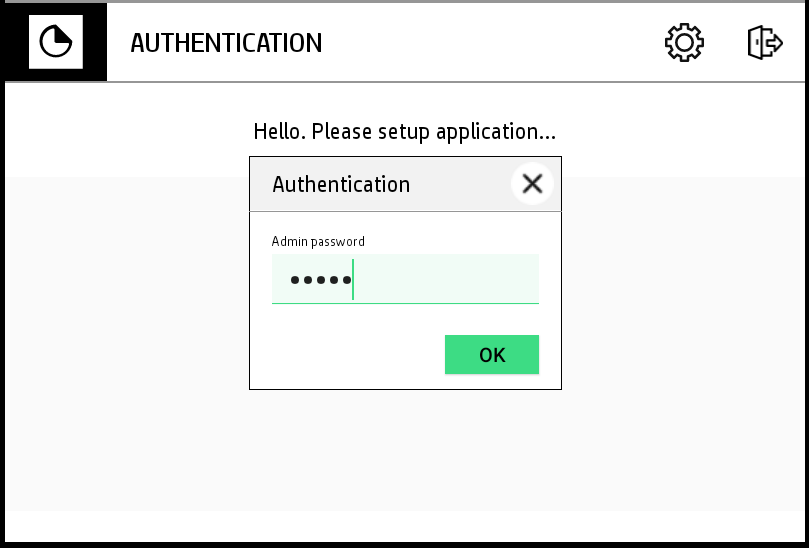
- Enter the admin password and click on the OK button.
- Default admin password is admin.

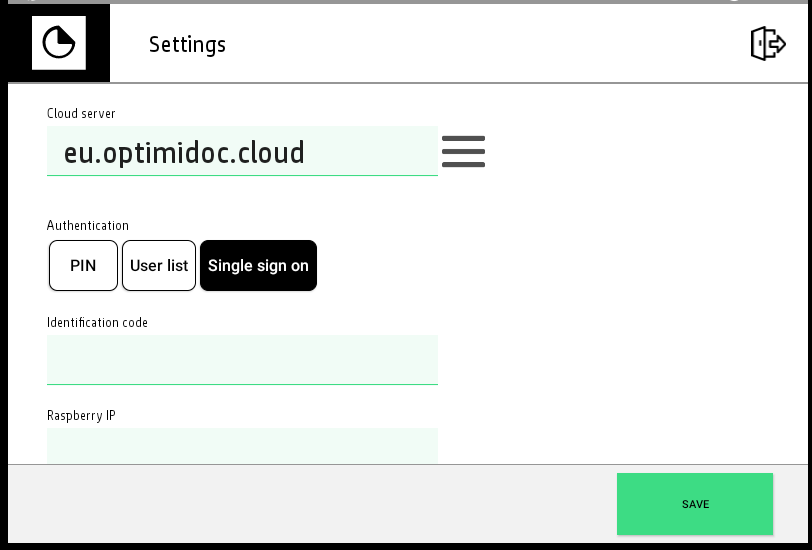
- Configure application attributes:
- Cloud server - select location/data centre of the customer account
- Authentication method
- PIN
- User List
- Single sign-on - use Single sign-on method when you want to take over user information from any third-party authentication application or OptimiDoc Cloud OptimiCapture and OptimiPrint Authentication. When the application starts the OptimiDoc Cloud OptimiCapture and OptimiPrint app gets information about user login from device. The user login is then compared against the Single sign-on field in the OptimiDoc Cloud OptimiCapture and OptimiPrint user database.
- Identification code - enter identification code of company. The identification code is visible on the Administrator Dashboard in the OptimiDoc Cloud OptimiCapture and OptimiPrint Portal.
- Raspberry IP - IP address of the OpitmiDoc Cloud Node (optional). After entering the IP address the pull print tab is available in the print section.
- Admin password - enter the new application admin password to change.

- Click on the Save button.
|
|
🗲 |
IMPORTANT Device needs to be enabled in the OptimiDoc Cloud OptimiCapture and OptimiPrint Portal. |